Introduction
If you're looking to sweeten your baking repertoire, the Strawberry Custard Delight Cake promises to be a showstopper in both flavor and presentation. This cake layers a fluffy sponge with a rich custard and fresh strawberries, embodying the essence of summer in every bite.
Not only is it pleasing to the palate, but it also brings a vibrant aesthetic to any occasion. Whether served during a family gathering or as a special weekend treat, this cake promises to be a delightful centerpiece.
Ingredients
- 2 cups all-purpose flour
The backbone of the cake, all-purpose flour provides structure and stability. Its moderate protein content ensures a light, yet firm crumb, creating the perfect base for the custard and strawberries. - 1 ½ cups granulated sugar
Sugar sweetens the cake and helps create a tender texture. It also enhances the flavor of the strawberries while balancing the creaminess of the custard. - 1 cup unsalted butter
Butter adds richness and moisture, contributing to a soft, tender crumb. Its fat content is crucial for flavor and helps create a delightful mouthfeel. - 4 large eggs
Eggs are essential for binding the ingredients and providing structure. They also help with the rise of the cake, contributing to its airy texture. - 1 cup whole milk
Milk hydrates the dry ingredients and adds creaminess to the cake batter. Using whole milk helps achieve a richer flavor and a moist crumb. - 1 tablespoon baking powder
This leavening agent is essential for making the cake rise. It creates bubbles in the batter, resulting in a light and fluffy cake. - 1 teaspoon vanilla extract
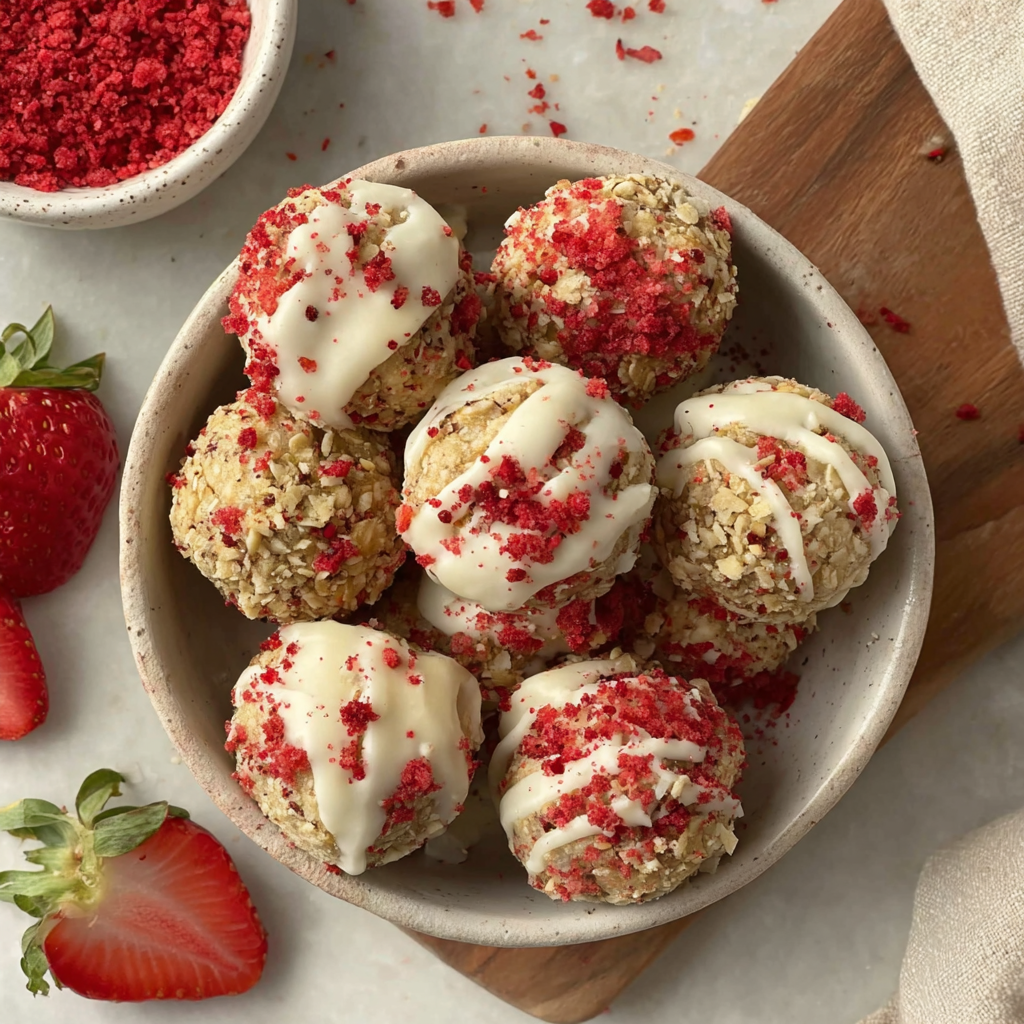
Vanilla enhances the overall flavor profile, adding a warm, sweet aroma that complements the strawberries and custard. - 2 cups fresh strawberries
Fresh strawberries are not only visually appealing, but they bring natural sweetness and acidity, brightening the flavor of the cake and custard. - 2 cups pastry cream (homemade or store-bought)
The pastry cream acts as a decadent layer between the cake and strawberries, providing a creamy, custard-like texture that contrasts beautifully with the light cake. - Powdered sugar for dusting
A light dusting of powdered sugar adds a professional touch to the finished cake, enhancing its appearance while providing a touch of sweetness.
Directions & Preparation
Step 1: Preheat your oven to 350°F (175°C) and prepare your baking pans.
Preheating ensures that your cake bakes evenly and rises properly right from the start. Greasing the pans helps to easily release the cake after baking, preventing any frustrating sticking.
Step 2: In a large mixing bowl, cream together the butter and granulated sugar until light and fluffy.
This essential step incorporates air into the butter, which helps the cake rise while baking. A light and fluffy mixture is crucial for a tender cake crumb, so take your time transitioning to this texture.
Step 3: Add the eggs one at a time, beating well after each addition. Stir in the vanilla extract.
Incorporating the eggs individually ensures they emulsify well with the creamed butter and sugar. This process contributes to the cake's structure while adding moisture and richness.
Step 4: In a separate bowl, combine the flour and baking powder, then gradually add this to the butter mixture, alternating with the milk.
Mixing dry and wet ingredients separately ensures even distribution of the leavening agent and strengthens the cake's structure without overmixing, which could lead to a denser texture.
Step 5: Pour the batter evenly into the prepared pans and smooth the top.
Even distribution helps the cakes rise uniformly, creating layers that are evenly baked. This attention to detail is critical for achieving a professional look and feel.
Step 6: Bake in the preheated oven for 25-30 minutes or until a toothpick inserted comes out clean.
Baking time is crucial; overbaking can result in a dry cake, while underbaking can lead to a soggy bottom. Checking with a toothpick is the best way to ensure perfect doneness.
Step 7: Once baked, allow the cakes to cool in the pans for 10 minutes before transferring to a wire rack to cool completely.
Cooling in the pans briefly allows the structure to set before being moved. Transferring them to a wire rack prevents moisture buildup, which keeps the cake from becoming soggy.
Step 8: Prepare the pastry cream if making homemade; otherwise, set aside the store-bought cream.
If opting for homemade pastry cream, ensure it’s chilled and thickened properly before layering. The cream should be smooth and luscious to contrast nicely with the strawberries.
Step 9: Once the cakes are completely cool, place one layer on a serving plate and spread a generous layer of pastry cream on top.
Layering the cream on the first cake layer provides a base for the fresh strawberries, creating a delicious interplay between the cake and flavors. Be generous for a truly delightful experience.
Step 10: Arrange half of the fresh strawberries over the pastry cream and then carefully place the second cake layer on top.
Arranging the strawberries over the cream adds an attractive component, while the second layer stabilizes everything as you continue assembling the cake.
Step 11: Spread the remaining pastry cream over the top layer and decorate with the remaining strawberries.
Finishing with strawberries not only adds flavor but also creates an eye-catching presentation. The vibrant color of the fresh fruit will stand out beautifully against the cream.
Step 12: Chill the assembled cake in the refrigerator for at least an hour before serving, and dust with powdered sugar just before serving.
Chilling helps the layers meld together, allowing the flavors to develop while making slicing easier. The final dusting of powdered sugar adds a lovely, understated elegance.

The Joy of Fresh Ingredients
Using fresh strawberries not only enhances the cake’s flavor but also elevates its visual appeal. When selecting strawberries, look for bright red berries without blemishes for the best taste. Fresh, ripe fruit contributes natural sweetness and acidity, balancing the richness of the custard beautifully.
Creamy Yet Light: The Art of Pastry Cream
Pastry cream serves as the heart of this cake, providing a smooth and rich contrast to the light sponge. It’s important to let the cream cool completely before assembling; this prevents the cake layers from becoming soggy while allowing the flavors to meld perfectly.
Balance is Key: Texture and Flavor
The interplay between the light sponge, creamy pastry cream, and vibrant strawberries creates a harmonious experience for taste and texture. Each bite should deliver a delightful contrast, making every element of the cake stand out while coming together in unison.
FAQs
Why is my cake too dense?
If your cake is dense, it could be due to overmixing the batter or incorrect measurements of flour. Ensure you gently fold in dry ingredients and measure using the spoon and level method for accuracy.
What can I do if my custard isn't thickening?
If your custard remains runny, it may need more cooking time or a higher heat. Constant stirring ensures that it thickens evenly without scorching.
Can I use frozen strawberries for this cake?
While fresh strawberries yield the best flavor and texture, you can use frozen ones if necessary. Thaw and drain them to remove excess moisture to avoid a soggy cake.
What if my cream layer is too runny?
If your pastry cream is too runny, it may need more cornstarch or time on the heat. Consider cooking it longer, stirring constantly, to achieve the right consistency.
Can I substitute other fruits besides strawberries?
Yes! Other berries like raspberries or blueberries would work well, or consider peaches for a different flavor profile. Just ensure they are similarly prepared and fresh.
How do I enhance the flavor of my custard?
To amplify the flavor of your pastry cream, consider adding a touch of lemon zest or almond extract. These additions can provide a delightful twist and elevate the overall taste.
Conclusion
Creating a Strawberry Custard Delight Cake is a rewarding experience that combines vibrant flavors and textures for an irresistible dessert. Take the time to enjoy the process from sourcing fresh ingredients to assembling your masterpiece.
This cake is not just a dessert; it’s a celebration, perfect for showcasing your culinary skills while delighting friends and family with every bite. Indulgence awaits, so embrace the joy of baking with this delightful recipe.
Recipe Card
Notes
Additional serving suggestions: pair with a crisp salad, garlic bread, or roasted seasonal vegetables for balance.
For make-ahead, prep components separately and assemble just before heating to preserve texture.
Taste and adjust with acid (lemon/vinegar) and salt right at the end to wake up flavors.