Introduction
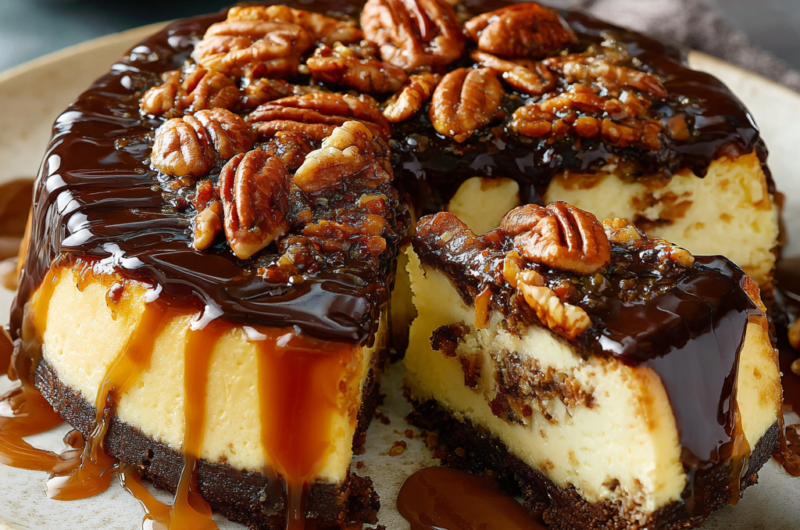
Turtle cheesecake is a decadent dessert that combines the creamy goodness of cheesecake with the rich flavors of chocolate, caramel, and pecans. It’s a treat that not only satisfies your sweet tooth but also offers a delightful array of textures and tastes that keep you coming back for more.
This cheesecake is perfect for special occasions or when you simply want to indulge in something sweet and luxurious. Each bite is a journey through creamy, sweet, and nutty flavors that dance together beautifully, making this a favorite dessert for many.
Ingredients
- 2 cups graham cracker crumbs
Graham cracker crumbs form the base of the cheesecake, providing a sweet and crumbly crust that adds a pleasant texture and flavor. - 1/2 cup unsalted butter, melted
Melted butter binds the graham cracker crumbs, helping to create a cohesive crust while adding richness. - 2 cups cream cheese, softened
Cream cheese is the primary ingredient in the cheesecake filling, contributing a smooth, creamy texture and tangy flavor. - 1 cup granulated sugar
Sugar sweetens the cheesecake and balances the tanginess of the cream cheese, enhancing the overall flavor. - 1 teaspoon vanilla extract
Vanilla extract adds a warm, aromatic element to the filling, enhancing the depth of flavor. - 4 large eggs
Eggs provide structure and stability to the cheesecake, helping it set properly while adding richness. - 1 cup semisweet chocolate chips
Chocolate chips infuse the cheesecake with rich chocolate flavor, complementing the other ingredients beautifully. - 1 cup caramel sauce
Caramel sauce adds a sweet, buttery flavor and a luscious texture that melds well with the creamy cheesecake. - 1 cup chopped pecans
Pecans add a delightful crunch and nutty flavor, contributing to the 'turtle' aspect of the dish.
Directions & Preparation
Step 1: Preheat your oven to 325°F (160°C).
Preheating the oven ensures that the cheesecake bakes evenly and at the right temperature. This step is essential for achieving the perfect texture.
Step 2: Prepare the crust by mixing graham cracker crumbs and melted butter in a bowl until combined.
Mixing the crumbs and butter properly ensures that every part of the crust is flavored and holds together. The mixture should resemble wet sand before pressing it into the pan.
Step 3: Press the mixture firmly into the bottom of a 9-inch springform pan.
Pressing the crust down firmly creates a solid base for your cheesecake. It helps prevent the crust from crumbling when you slice your dessert.
Step 4: Bake the crust in the preheated oven for about 10 minutes, then remove and let cool.
Baking the crust briefly allows it to set and become slightly crispy, which contrasts nicely with the creamy filling. Cool it completely before adding the filling.
Step 5: In a large bowl, beat softened cream cheese and sugar until smooth and creamy.
Incorporating air into the cream cheese while mixing with sugar helps create a light texture. Make sure there are no lumps for a velvety filling.
Step 6: Add the eggs one at a time, mixing well after each addition.
Mixing in the eggs incrementally prevents overmixing, which can cause a cheesecake to crack. It allows for even incorporation without incorporating too much air.
Step 7: Stir in the vanilla extract and fold in the chocolate chips.
Adding vanilla at this stage enhances the flavor, while folding in chocolate chips ensures they are evenly distributed without breaking them.
Step 8: Pour the filling over the cooled crust in the springform pan.
Pouring the filling slowly helps avoid air pockets; a smooth layer at the bottom also serves as a base for the toppings.
Step 9: Drizzle half of the caramel sauce over the filling and swirl it gently with a knife.
Swirling the caramel into the filling creates a visually appealing marbled effect, enhancing both presentation and flavor distribution in each slice.
Step 10: Bake the cheesecake in the water bath for 50-60 minutes, until the edges are set but the center is slightly wobbly.
Using a water bath ensures gentle baking, preventing cracks and ensuring creamy texture. Wobbliness in the center indicates it will firm up as it cools.
Step 11: Turn off the oven and let the cheesecake cool inside with the door ajar for about an hour.
Gradual cooling helps prevent the cheesecake from cracking due to sudden temperature changes. This step is crucial for a smooth top.
Step 12: Once cooled, refrigerate for at least 4 hours or overnight to set completely.
Chilling solidifies the cheesecake, allowing the flavors to meld beautifully. It's essential for achieving the right texture.
Step 13: Before serving, top with remaining caramel sauce and chopped pecans.
Adding the toppings just before serving preserves their crunch and flavor, enhancing the overall enjoyment of the dessert.

The Importance of the Water Bath
Using a water bath is a crucial technique in cheesecake-making. It moderates the heat around the cheesecake, preventing the edges from cooking too quickly while the center remains undercooked. This gentle cooking method helps to achieve a creamy texture without cracks, typically seen in cheesecakes that are baked directly in the oven.
Elevating Flavor with Quality Ingredients
The quality of the ingredients in turtle cheesecake significantly influences the final product. Using premium cream cheese provides a rich, rich flavor, while high-quality chocolate chips and caramel sauce elevate the dessert from ordinary to extraordinary. Investing in good ingredients ensures that every bite resonates with authentic taste, making your cheesecake memorable.
Serving Suggestions for Turtle Cheesecake
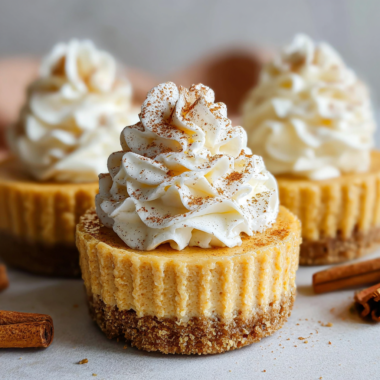
Turtle cheesecake is a showstopper in its own right, but pairing it with sides can enhance the indulgence. Consider serving with whipped cream on the side or a scoop of vanilla ice cream to balance the richness of the cheesecake. Fresh fruit, such as berries, can also add a refreshing touch that cuts through the sweetness, offering a delightful contrast.
FAQs
What can I do if my cheesecake cracks during baking?
If your cheesecake cracks, it may have been overbaked or baked without a water bath. Make sure to check for doneness earlier next time and use a water bath to maintain moisture.
Can I double the recipe for a larger cheesecake?
Yes, you can double the recipe, but you'll need to adjust the baking time accordingly. Larger cheesecakes often require more time to bake evenly.
What if my caramel sauce hardens on the cheesecake?
If the caramel hardens, gently warm it before using it as a topping. This makes it easier to drizzle over the cheesecake while enhancing its serving appeal.
How can I tell when my cheesecake is done?
The cheesecake is done when the edges are set, and the center slightly jiggles. It will continue to firm up while cooling.
What should I do if my cheesecake filling is too thick?
If your cheesecake filling is too thick, you can add a tablespoon of milk or cream during mixing to adjust the consistency. Ensure it's well incorporated before pouring it into the crust.
Can I make turtle cheesecake with different nuts?
Absolutely! While pecans are traditional, you can substitute them with walnuts or almonds for a different flavor profile.
Conclusion
Turtle cheesecake is more than just a dessert; it’s a delightful experience that brings textures, flavors, and a sense of fulfillment to the table. Each spoonful embodies the indulgence we seek in treats, making it a perfect choice for special moments.
Whether you bake it for a holiday, a birthday, or simply to share with loved ones, this cheesecake will impress and delight. Make it your own by experimenting with layers or toppings, and enjoy the sweet satisfaction that comes from creating this beloved dessert.
Recipe Card
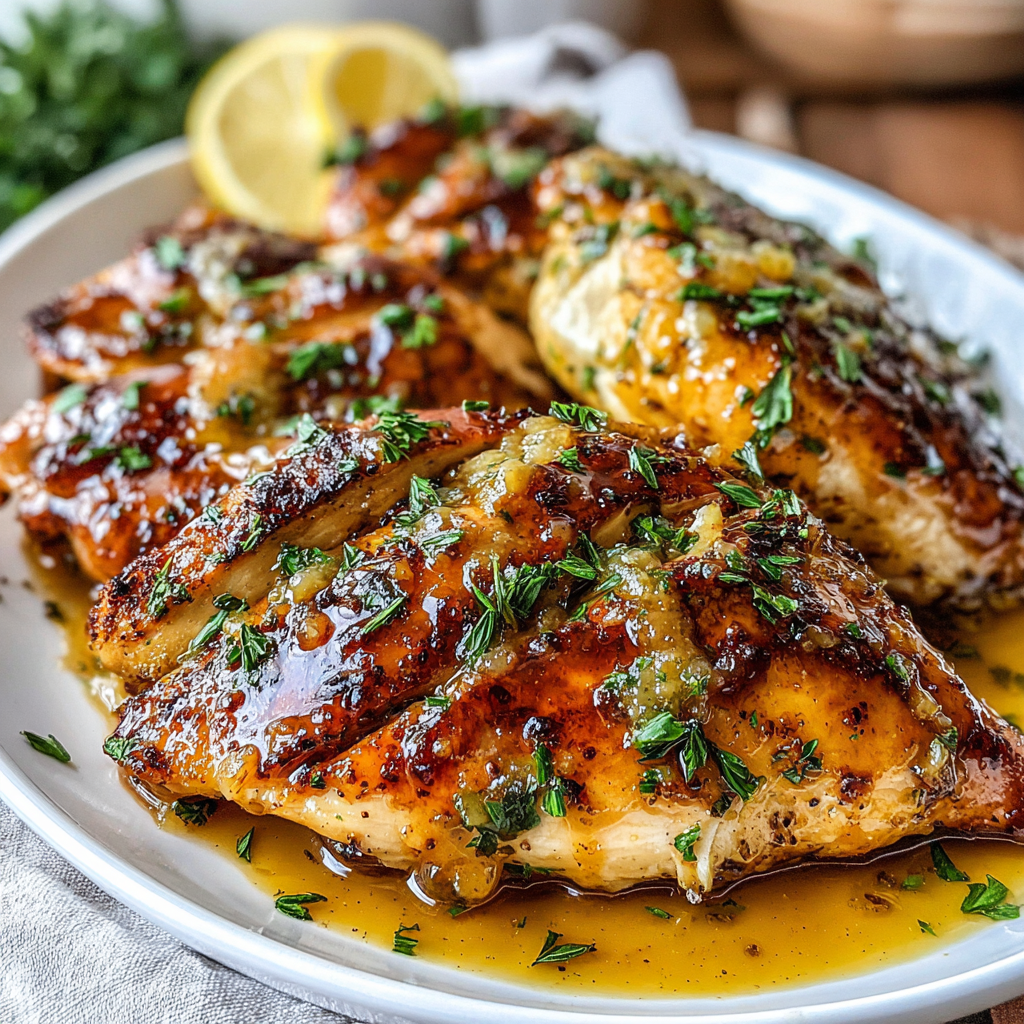
Savory Baked Chicken with Honey Mustard Glaze
Ingredients
Method
- Preheat the oven to 400°F (200°C).
- Prepare the glaze by mixing honey, dijon mustard, olive oil, garlic powder, salt, and pepper in a bowl.
- Place the chicken thighs in a baking dish and brush them generously with the honey mustard glaze.
- Let the chicken marinate for 30 minutes if time permits.
- Bake the chicken for 35-40 minutes, basting halfway through with any remaining glaze.
- Check the internal temperature of the chicken to ensure it reaches 165°F (75°C).
- Let the chicken rest for 5-10 minutes before serving and garnish with fresh parsley.
Notes
Additional serving suggestions: pair with a crisp salad, garlic bread, or roasted seasonal vegetables for balance.
For make-ahead, prep components separately and assemble just before heating to preserve texture.
Taste and adjust with acid (lemon/vinegar) and salt right at the end to wake up flavors.