Introduction
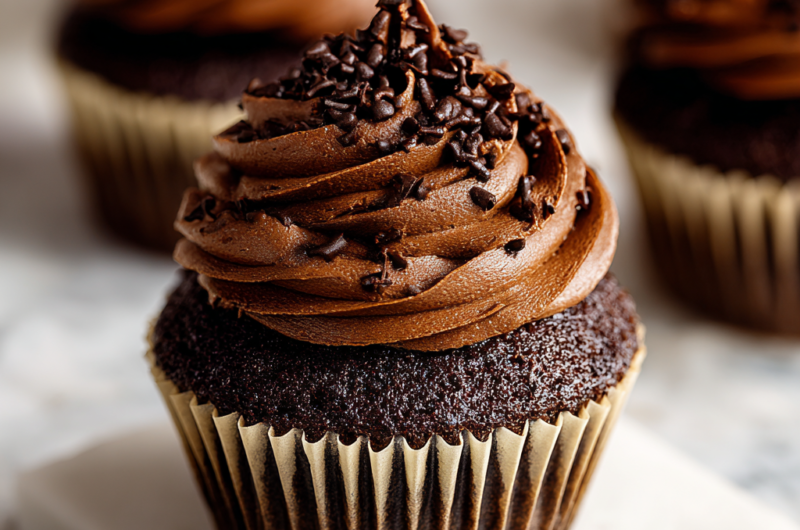
Chocolate cupcakes are a delightful treat that bring joy to any gathering. Whether for a birthday, an afternoon coffee break, or a cozy dessert after dinner, these small, rich cakes deliver a memorable experience in every bite.
The magic of chocolate cupcakes lies not just in their flavor but also in their versatility. You can top them with creamy frosting, a sprinkle of sea salt, or even fresh berries to suit your mood or occasion.
Once you master the art of chocolate cupcakes, you'll find endless opportunities to impress friends and family. With simple ingredients and straightforward techniques, these treats can become a beloved staple in your baking repertoire.
Ingredients
- 1 cup all-purpose flour
Flour provides the structure to the cupcakes. All-purpose flour works well for a tender crumb, ensuring the cupcakes are neither too dense nor too airy. - 1 cup granulated sugar
Sugar sweetens the cupcakes and also contributes to their moistness. It helps create a tender texture when combined with wet ingredients. - 1/3 cup unsweetened cocoa powder
Cocoa powder drives the chocolate flavor in the cupcakes. It also helps to balance the sweetness and adds depth to the overall taste. - 1 teaspoon baking powder
Baking powder is the leavening agent that helps the cupcakes rise. It creates air bubbles in the batter, making the cupcakes light and fluffy. - 1/2 teaspoon baking soda
Baking soda works in conjunction with baking powder to enhance the leavening process. It also promotes a rich, dark color in the baked cupcakes. - 1/4 teaspoon salt
Salt enhances the flavors in baked goods. It plays a critical role in balancing sweetness and brings out the chocolate flavor. - 1/2 cup vegetable oil
Vegetable oil keeps the cupcakes moist and tender. Unlike butter, it incorporates into the batter easily, creating an airy yet rich texture. - 2 large eggs
Eggs provide structure and stability to the cupcakes. They also add richness to the flavor and contribute to a moist, tender crumb. - 1 teaspoon vanilla extract
Vanilla extract enhances the flavor profile of the cupcakes. It adds aromatic notes that complement the chocolate beautifully. - 1/2 cup buttermilk
Buttermilk brings acidity to the batter, which activates the baking soda for better leavening. It also contributes to a tender texture and rich flavor.
Directions & Preparation
Step 1: Preheat the oven to 350°F (175°C).
Preheating the oven ensures even baking. A consistent temperature is crucial for achieving the desired rise in cupcakes. This step makes sure your batter hits a hot surface immediately, setting the texture.
Step 2: Line a muffin tin with cupcake liners.
Using cupcake liners not only makes for an easier cleanup but also gives your cupcakes a finished look. Choose colorful or patterned liners to match any occasion or your personal style.
Step 3: In a bowl, whisk together the dry ingredients: flour, sugar, cocoa powder, baking powder, baking soda, and salt.
Whisking the dry ingredients together ensures even distribution of leavening agents and flavors throughout the batter. This prevents clumping and allows for a consistent cupcake texture.
Step 4: In another bowl, mix the wet ingredients: vegetable oil, eggs, vanilla extract, and buttermilk.
Mixing the wet ingredients separately allows for better emulsification. This step ensures all the liquids are combined smoothly, contributing to a uniform batter that bakes evenly.
Step 5: Pour the wet ingredients into the dry ingredients and mix until just combined.
Overmixing can lead to dense cupcakes, so gently folding the ingredients together keeps them light. It's okay if there are a few lumps; they will bake out beautifully.
Step 6: Scoop the batter into the prepared cupcake liners, filling each about two-thirds full.
Filling the liners to the right level ensures that the cupcakes have enough room to rise without overflowing. This also helps them achieve a perfect dome shape.
Step 7: Bake for 18-20 minutes, or until a toothpick inserted in the center comes out clean.
Baking time can vary depending on your oven and the size of your cupcakes, so start checking for doneness at 18 minutes. This step is key to avoiding over-baking, which can lead to dry cupcakes.
Step 8: Remove the cupcakes from the oven and let them cool in the pan for 5 minutes.
Letting the cupcakes cool in the pan allows them to set, making it easier to transfer them without breaking. Cooling slightly also enhances the flavor as they finish baking from residual heat.
Step 9: Transfer the cupcakes to a wire rack to cool completely.
Moving the cupcakes to a wire rack prevents them from becoming soggy by allowing air to circulate around them. Once cooled, they are ready for frosting or enjoying as is.
Step 10: Frost and decorate as desired.
The final touch of frosting adds a layer of sweetness and creates a beautiful presentation. Get creative with toppings like sprinkles, fruit, or even chocolate shavings to make each cupcake unique.

Adding Flavorful Twists to Your Cupcakes
While classic chocolate cupcakes are always a hit, consider adding flavors like espresso powder for a mocha twist or peppermint extract for a refreshing minty touch. You can also mix in chocolate chips or nuts to enhance texture and flavor, bringing a personal touch to this beloved treat.
Perfect Pairings: Toppings for Chocolate Cupcakes
The right topping can elevate chocolate cupcakes to new heights. From rich buttercream to fluffy whipped cream, each option brings its charm. Experiment with different frostings, like cream cheese or ganache, and don't forget to adorn them with fresh fruits, toasted coconut, or a sprinkle of sea salt for that extra flavor dimension.
Storing and Serving Chocolate Cupcakes
Proper storage ensures your chocolate cupcakes remain delicious for days. Store them in an airtight container at room temperature for up to three days. For longer freshness, refrigerate them, but allow them to come to room temperature before serving so their flavors can shine through.
FAQs
What if my cupcakes come out dry?
If your cupcakes turn out dry, they may have been overbaked. Ensure you check for doneness a couple of minutes before the suggested time. Adding a simple syrup can also help moisten them.
Can I substitute buttermilk in this recipe?
Yes, you can substitute buttermilk with regular milk mixed with a tablespoon of vinegar or lemon juice. Let it sit for a few minutes before using to create a similar acidity.
What can I do if my batter is too thick?
If your batter seems too thick, you can add a tablespoon of milk or water to loosen it up. This will help achieve the right consistency for fluffy cupcakes, ensuring they rise well.
How can I adjust this recipe for mini cupcakes?
To make mini cupcakes, reduce the baking time to about 10-12 minutes. Keep an eye on them and test for doneness with a toothpick, as they bake faster due to their smaller size.
Can I use a different type of flour?
While all-purpose flour is ideal for this recipe, you can use cake flour for a lighter texture or gluten-free flour for a gluten-free version, keeping in mind the differences in moisture absorption.
What should I do if my cupcakes are too sweet?
If you find your cupcakes too sweet, try reducing the sugar slightly in the next batch, or complementing them with a less sweet frosting. Dark chocolate frosting is a great choice to balance sweetness.
Conclusion
Chocolate cupcakes are a delightful treat that can easily be customized for any occasion. With a few simple ingredients and techniques, you can bake a batch that everyone will love.
Remember, baking is about experimenting and having fun. Don’t hesitate to try different flavors, toppings, and techniques to make your chocolate cupcakes uniquely yours.
Recipe Card
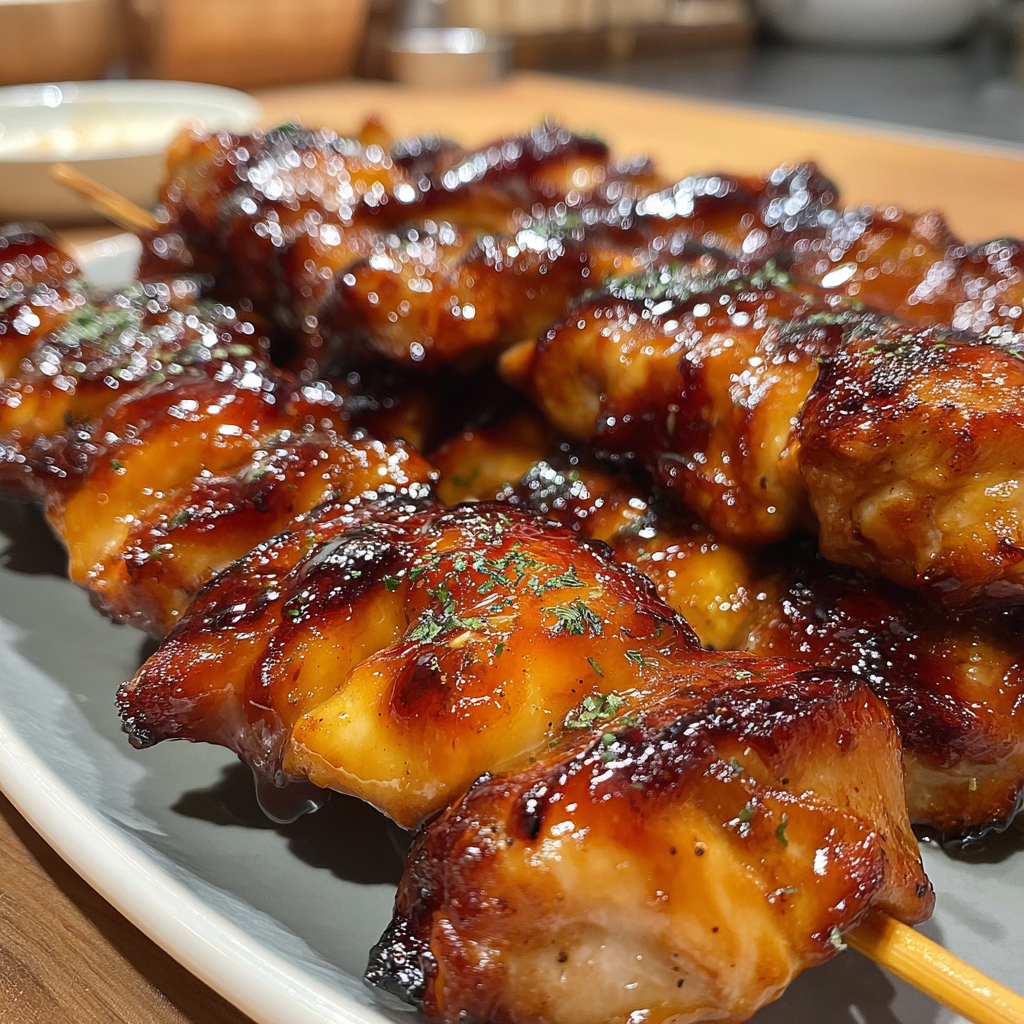
Grilled Chicken Skewers with Peach Bourbon Glaze
Ingredients
Method
- Soak wooden skewers in water for 30 minutes if using.
- In a bowl, combine diced peaches, bourbon, honey, soy sauce, garlic, ginger, salt, and pepper to create the marinade.
- Add the cubed chicken to the marinade, ensuring each piece is coated. Cover and refrigerate for at least 1 hour.
- Preheat the grill to medium-high heat.
- Thread the marinated chicken and diced peaches onto the soaked skewers, alternating pieces for even cooking.
- Place the skewers on the grill and cook for 10-15 minutes, turning occasionally until the chicken is cooked through and has grill marks.
- Brush leftover marinade over the skewers during the last few minutes of grilling for extra flavor.
- Remove from the grill and let the skewers rest for a few minutes before serving.
- Serve with your favorite side dishes and enjoy!
Notes
Additional serving suggestions: pair with a crisp salad, garlic bread, or roasted seasonal vegetables for balance.
For make-ahead, prep components separately and assemble just before heating to preserve texture.
Taste and adjust with acid (lemon/vinegar) and salt right at the end to wake up flavors.