Introduction
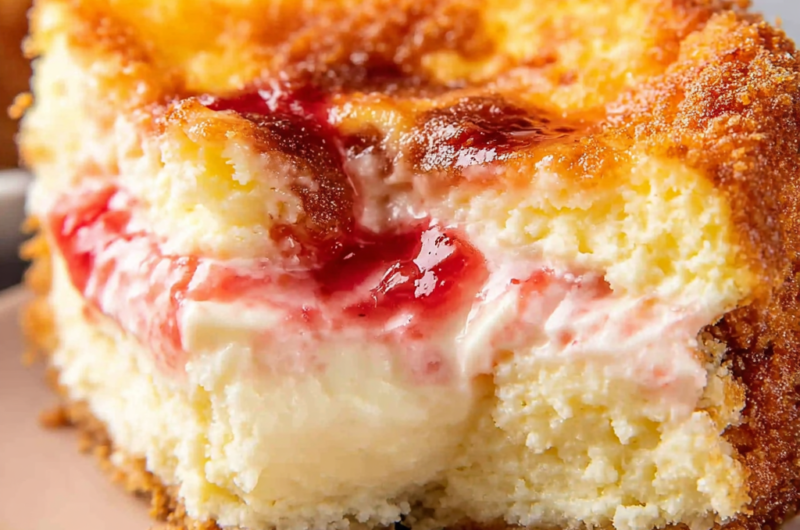
Deep fried cheesecake is a decadent twist on a classic dessert, combining the creamy richness of cheesecake with a crunchy, golden-brown exterior. It captures the essence of indulgence, transforming a beloved treat into something extraordinary. Whether you're hosting a gathering or just want to treat yourself, this dessert is guaranteed to impress.
The process involves creating a fluffy cheesecake filling, enveloped in a light batter, and then deep-frying it to perfection. This method not only enhances flavors but also adds an exciting texture contrast to the dessert. Get ready to savor each bite of this heavenly delight!
As you embark on this culinary adventure, you’ll find that deep frying cheesecake is not only rewarding but also an enjoyable process. The rich flavors combined with the crispy exterior create a symphony that’s hard to resist. Let’s dive into the ingredients and steps necessary to create this irresistible treat.
Ingredients
- 8 oz cream cheese, softened
Cream cheese is the base of your cheesecake filling. Its creamy texture and tangy flavor contribute to the overall richness and help achieve the dense, creamy consistency characteristic of traditional cheesecakes. - 1 cup granulated sugar
Sugar not only sweetens the cheesecake but also helps to balance the tanginess of the cream cheese. It plays a role in the texture as well, ensuring the filling is smooth and creamy. - 2 large eggs
Eggs are essential for binding the cheesecake filling together. They provide structure and help the filling set during both the initial baking and the frying process. - 1 tsp vanilla extract
Vanilla adds a warm, aromatic flavor to the cheesecake, enhancing its overall profile. It elevates the sweetness and complements the creamy elements beautifully. - 1 cup all-purpose flour
Flour is used to create the batter that surrounds the cheesecake, forming a protective layer during frying. This contributes to the crispy texture you expect from a deep-fried dessert. - 1 tsp baking powder
Baking powder helps the batter rise slightly, giving it a light and fluffy texture when fried. This ensures the coating is not overly dense and remains crisp. - 1 cup milk
Milk hydrates the batter, making it smooth and pliable. It also helps to achieve the right consistency, ensuring the batter adheres well to the cheesecake. - 1 tsp salt
A pinch of salt amplifies the flavors within the batter and cheesecake filling, balancing sweetness and enhancing the overall taste. - Vegetable oil (for frying)
The oil is crucial for deep frying the cheesecake, allowing it to cook evenly and develop a beautifully golden color. Choose a high smoke point oil for best results. - Powdered sugar (for dusting)
Powdered sugar is used for garnishing the finished cheesecake bites. It adds an extra touch of sweetness and makes for an attractive presentation.
Directions & Preparation
Step 1: Prepare the cheesecake filling.
Start by carefully beating the softened cream cheese with sugar until it's creamy and smooth. This initial step is vital to avoid lumps in your cheesecake filling; a well-mixed base ensures a luxurious texture. Gradually incorporate eggs and vanilla, mixing until combined. Allowing the cream cheese to soften makes the blending easier and allows the flavors to meld better.
Step 2: Chill the cheesecake mixture.
Transfer the cheesecake filling to a lined baking dish or pan and spread it evenly. Chill in the refrigerator for at least 4 hours, or preferably overnight. This helps the filling firm up, making it easier to cut into squares or balls for frying. A chilled filling also helps maintain its shape during the frying process, preventing it from melting away.
Step 3: Cut the chilled cheesecake into pieces.
Once set, remove the cheesecake from the refrigerator and cut it into bite-sized pieces, typically squares or rectangles. Be gentle during this process to avoid cracking. These pieces will be coated and fried, so aim for uniform sizes for even cooking. This preparation step is key; irregular shapes may fry differently, leading to inconsistent results.
Step 4: Prepare the batter.
In a bowl, mix the flour, baking powder, and salt together. Gradually whisk in the milk until a smooth batter forms. The right consistency is crucial; it should be thick enough to coat the cheesecake pieces but still runny enough to adhere well. Testing the batter's consistency with a spoon can help ensure it's ready.
Step 5: Heat the oil for frying.
In a deep saucepan or fryer, heat vegetable oil to 375°F (190°C). A thermometer is vital here to maintain an appropriate frying temperature. Too low, and your cheesecake will absorb oil; too high, and it may burn. Patience is key while the oil heats; the right temperature will give you that perfect crispy exterior.
Step 6: Coat the cheesecake pieces.
Dip each cheesecake piece into the batter, ensuring an even coating. This step is essential to create that crunchy outer layer. Make sure the pieces are well-covered without excess batter, as any drips will lead to uneven frying. It's helpful to keep your batter bowl close by for quick dipping.
Step 7: Fry the cheesecake pieces.
Carefully lower the coated cheesecake pieces into the hot oil, working in batches to avoid overcrowding. Fry for about 2-3 minutes on each side or until golden brown. This step requires attention; too long in the oil can result in overcooked cheesecake, while too short may lead to a soggy texture. Use a slotted spoon to gauge when they're ready.
Step 8: Drain and dust with powdered sugar.
Once fried, remove the cheesecake pieces from the oil and place them on a paper towel-lined plate to drain any excess oil. This is vital to keep them from becoming greasy. After draining, dust generously with powdered sugar for a finishing touch. This enhances both flavor and presentation, making them look irresistible.
Step 9: Serve warm for the best experience.
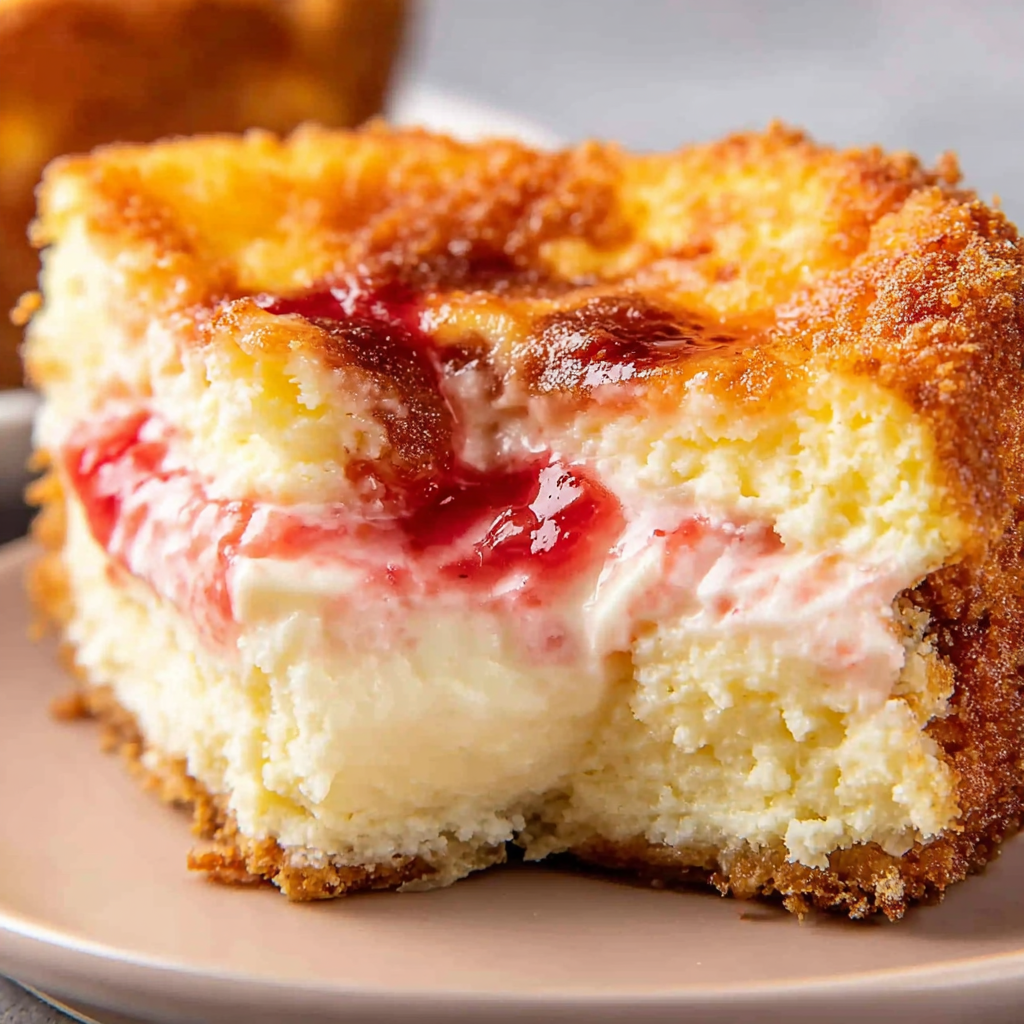
Deep fried cheesecake is best served warm, allowing the creamy filling to shine alongside the crisp outside. You can enjoy them plain, or pair them with your favorite sauces like chocolate or raspberry. This final step is about enjoyment; the contrast of warm filling and cool toppings creates a delightful eating experience.

Creating the Perfect Batter
The batter ring is critical in creating the desired crispiness of your deep fried cheesecake. A thick batter ensures that it clings well to the cheesecake, while being too thin may result in loss during frying. Adjusting the flour and milk ratios can help you reach that perfect consistency. Also, don’t forget to season; the little bit of salt enhances flavor dramatically.
Serving Suggestions for Deep Fried Cheesecake
Deep fried cheesecake can stand alone, but pairing it with complementary flavors can elevate the experience. Consider serving alongside fresh fruits like strawberries or a drizzle of caramel or chocolate sauce. A scoop of vanilla ice cream is also a delightful addition, adding a creamy texture that contrasts beautifully with the crispy bites.
Garnishing Ideas for a Special Touch
Presentation plays a key role in any dessert, and deep fried cheesecake is no exception. Aside from a dusting of powdered sugar, consider adding whipped cream or a sprinkling of nuts for added texture. A few mint leaves can bring a splash of color and freshness, making your dessert as visually appealing as it is delicious.
FAQs
What should I do if my batter is too thick?
If your batter is too thick, add a tablespoon of milk at a time until you reach the desired consistency. The batter should be thick enough to coat the cheesecake pieces but still pourable.
How can I tell if the oil is hot enough?
You can check if the oil is ready by dipping a small amount of batter into it; if it sizzles and rises to the surface, the oil is at the right temperature. A thermometer is also very helpful for precise readings.
What if my cheesecake filling is too runny?
If your cheesecake filling is too runny, it may not have chilled long enough. Ensure to let it set thoroughly in the fridge, or consider adding a bit of cornstarch to thicken it before chilling.
Can I use a different type of cheese for the filling?
Yes, you can experiment with different cheeses like mascarpone or ricotta, but this may alter the flavor and texture. Stick to cream cheese for the traditional taste.
What oil is best for frying?
Choose oils with a high smoke point, like vegetable oil, canola oil, or peanut oil, ensuring you achieve that delicious, crispy exterior without burning.
How do I know when the cheesecake is cooked properly?
Golden brown color is your cue! Additionally, a firm texture when pressed lightly confirms it’s cooked well; avoid overcooking, as this leads to dryness.
Conclusion
Deep fried cheesecake is more than just a treat; it’s an experience that brings together contrasting textures and rich flavors. With each bite, you’ll find yourself lost in the creamy decadence paired with a crispy shell. It’s a delightful indulgence that is well worth the effort.
Whether you enjoy them alone or share with friends, these little morsels are bound to create joyous moments. Don't hesitate to experiment with flavors and toppings, personalizing the dessert to suit your taste. Happy cooking!
Recipe Card
Indulge in the Delight of Deep Fried Cheesecake
Ingredients
Method
- Prepare the cheesecake filling.
- Chill the cheesecake mixture.
- Cut the chilled cheesecake into pieces.
- Prepare the batter.
- Heat the oil for frying.
- Coat the cheesecake pieces.
- Fry the cheesecake pieces.
- Drain and dust with powdered sugar.
- Serve warm for the best experience.
Notes
Additional serving suggestions: pair with a crisp salad, garlic bread, or roasted seasonal vegetables for balance.
For make-ahead, prep components separately and assemble just before heating to preserve texture.
Taste and adjust with acid (lemon/vinegar) and salt right at the end to wake up flavors.


